

This easy to sew tote bag is a wonderful furoshiki inspired shape. Loosely termed an 'origami bag', it's made from one length of yardage and has endless looks, depending on the fabric and handle used to make it. Origami totes have become popular, but how to make them is something of a mystery.
I first saw this remarkable small furoshiki bag shape years ago. I loved the way the little Japanese silk bag had ends that tie on top. Originally used to tie up a little lunch, it is a cute way to bundle up items to pop into a tote or purse.

Later larger versions like the one I show here started to appear in tote bag sizes. These were made in wonderful Japanese cottons and silks. Made quite simply from a length of fabric, it’s the folding that makes this tote unique.
Once I'd made a few, I realized that not only was this tote gorgeous, but it can be a fast and easy project, depending on how the seams are finished. I have put together a tutorial that I hope reveals the mystery of this folded bag for you. To start, I’d like to examine the folding method up close, so that when it comes to actually sewing up a bag, the process will go smoothly.
Folding Tutorial:
Cut a 9” x 3” rectangle of printed wrapping paper to use as a mock-up when you read this 3 step tutorial. Label your paper where needed and fold it as shown in the tutorial to create a little paper ‘tote’ shape. This paper tote can be referred to when it comes time to sew the bag, and it will help to show the directions of each fold as you work with the fabric tote.


Textile selection: What kind of fabric to use?
This tote is most often unlined, so the weight of fabric can vary from a silky crepe to a crisp linen. It is essential to use a stable, non-stretching woven fabric, and not a knit or stretch woven. I like home decor textiles or heavier fashion fabrics of linen or crisp cottons. Cotton quilting fabric can also be easily used to make a tote.
Here's a tote made from vintage Mexican striped cotton. Stripes are a great look because of the way this origami folding uses the fabric. The tutorial uses several linen stripes as well.

The Pattern: How do I cut the fabric?
This tote is made from a simple rectangle where the length is 3 times the width.

Sizes:
Medium Tote: 45” L x 15” W
Large Tote: 60” L x 20” W
The medium size is easily torn cross grain from 45" wide fabric, and the large tote can be cut from 60" wide fabric. Both can be made from any textile if using the grain line or selvedge edge length. I have been known to piece fabric to get the long length as well and this doesn't seem to detract from the bag, as it tends to look intentional.
How to Make the Tote:
Step 1: Seams "A" and "B"
The folding tutorial above shows how to match up the edges to create the 2 seams in this project, seam “A” and “B”. With the fabric, now match up the "A" seamline starting at the lower point and smooth the 2 layers of fabric up to the straight edge. Pin the fabric together as shown.


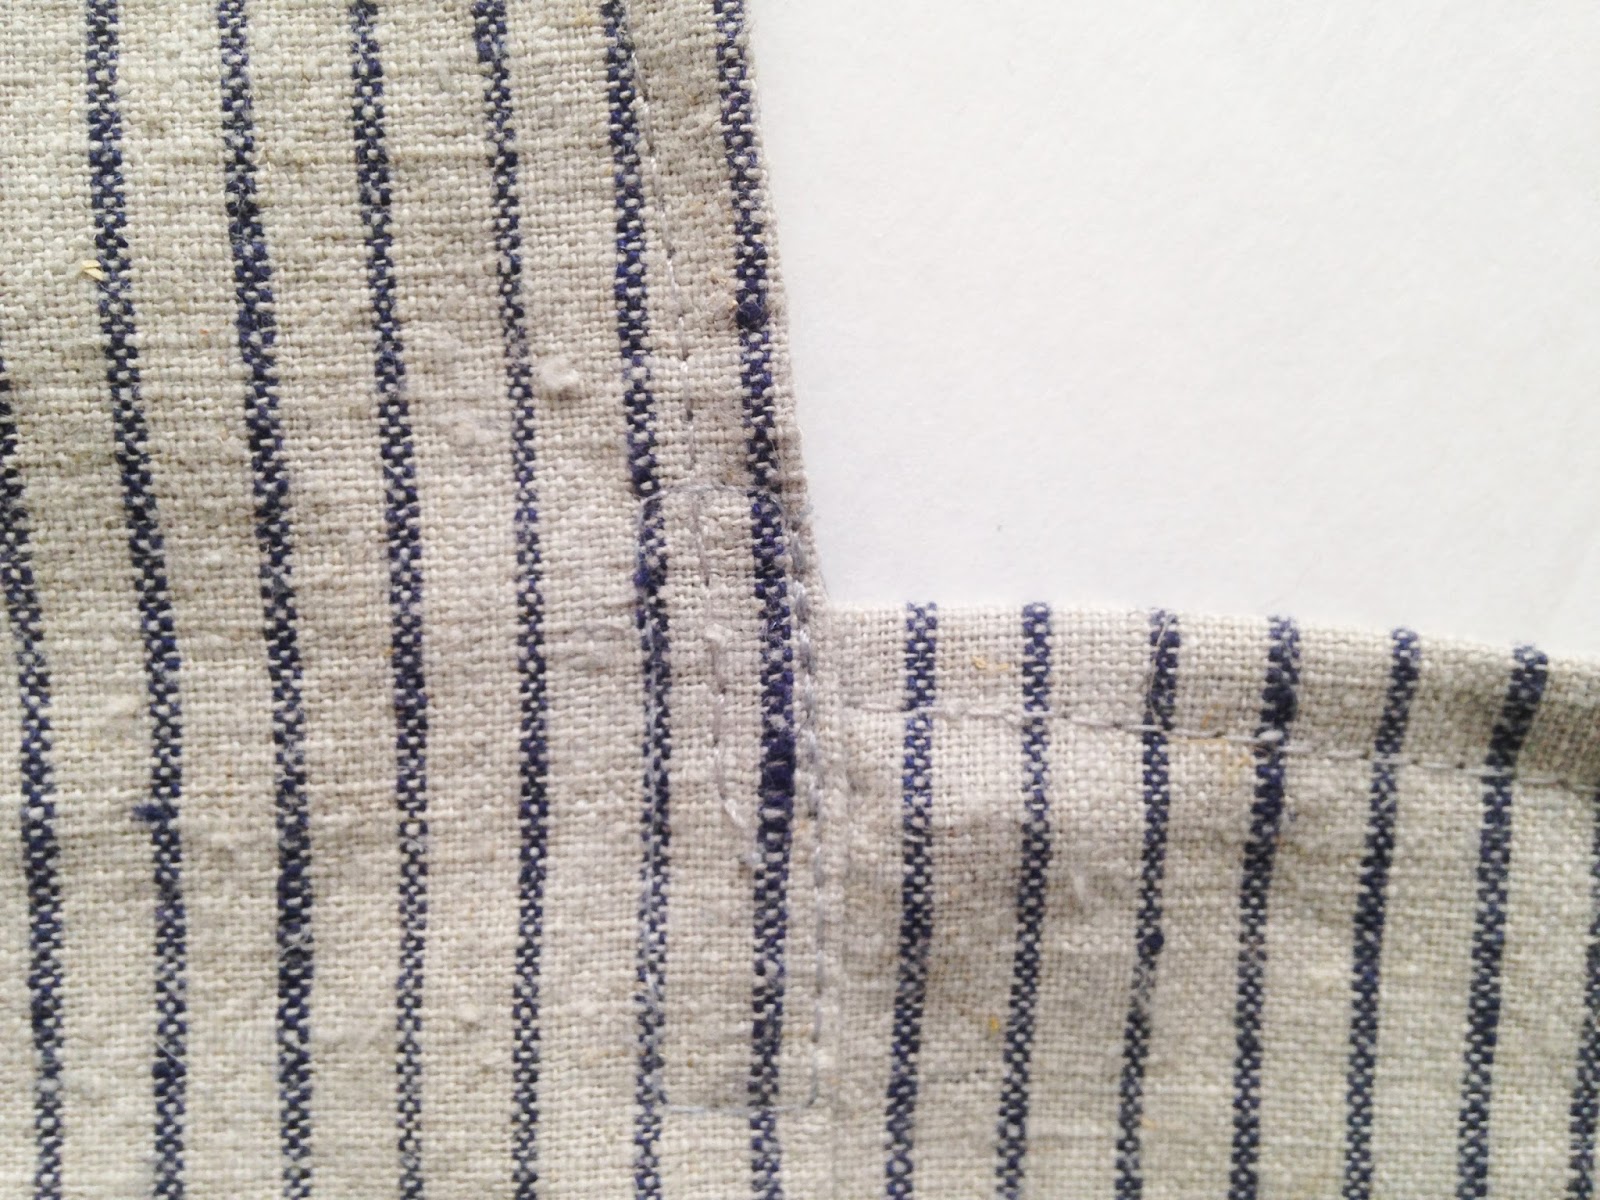
The "A" and "B" seamlines should stop 1" below the upper edge of fabric. This fabric is left 'free' because it will be later folded over for hemming. Sew using a straight stitch from the lower fold point up to within 1” of the fabric top edge as show, and be sure to backstitch this end for a secure seamline.
Finish off the raw edge by pressing over 1/4" and using a zig-zag stitch as shown on this sample. This edge can also be overlocked for a clean finish.

Step 2: Finish the Edges
Press a ¼” hem around the pointed scarf top ends of the tote bag. Sew using a straight stitch or zig-zag stitch.


Start first at the inner "V" corner. As you work, continue along the hem, stopping to turn at the top corner point.


Step #3: Inner Corners:
Reinforce the inner corners by sewing a small box shape through all layers, or use zig-zag stitch set at the widest width and 0 stitch length to create a bar tack.

Step 4: Bag Bottom Corners
Working from the inside, lay the bag bottom flat so that seam “A” or “B” is along one edge, creating a corner. Measure about 4” across that corner point and sew, back stitch at each end.


Step 5: Bag Handle
There are different instructions for both fabric or leather handle.
Fabric handle: Cut 11" x 7" rectangle. This instruction creates a double fabric handle. First, fold over the rectangle down the center lengthwise with the good side of fabric inside. Sew off the ends, turn and press so it looks like a little, wide pillowcase. Turn under the raw edges 1/2" along the long opening end and press. Sew the opening closed by hand or by top stitching with matching thread. Fold the hemmed rectangle down the center lengthwise and pin the edges together to create a tube. Sew 1/4" from this edge using large stitches (heavier thread can be used here too). Be sure to tie off the thread ends so the stitching wont’t pull out.
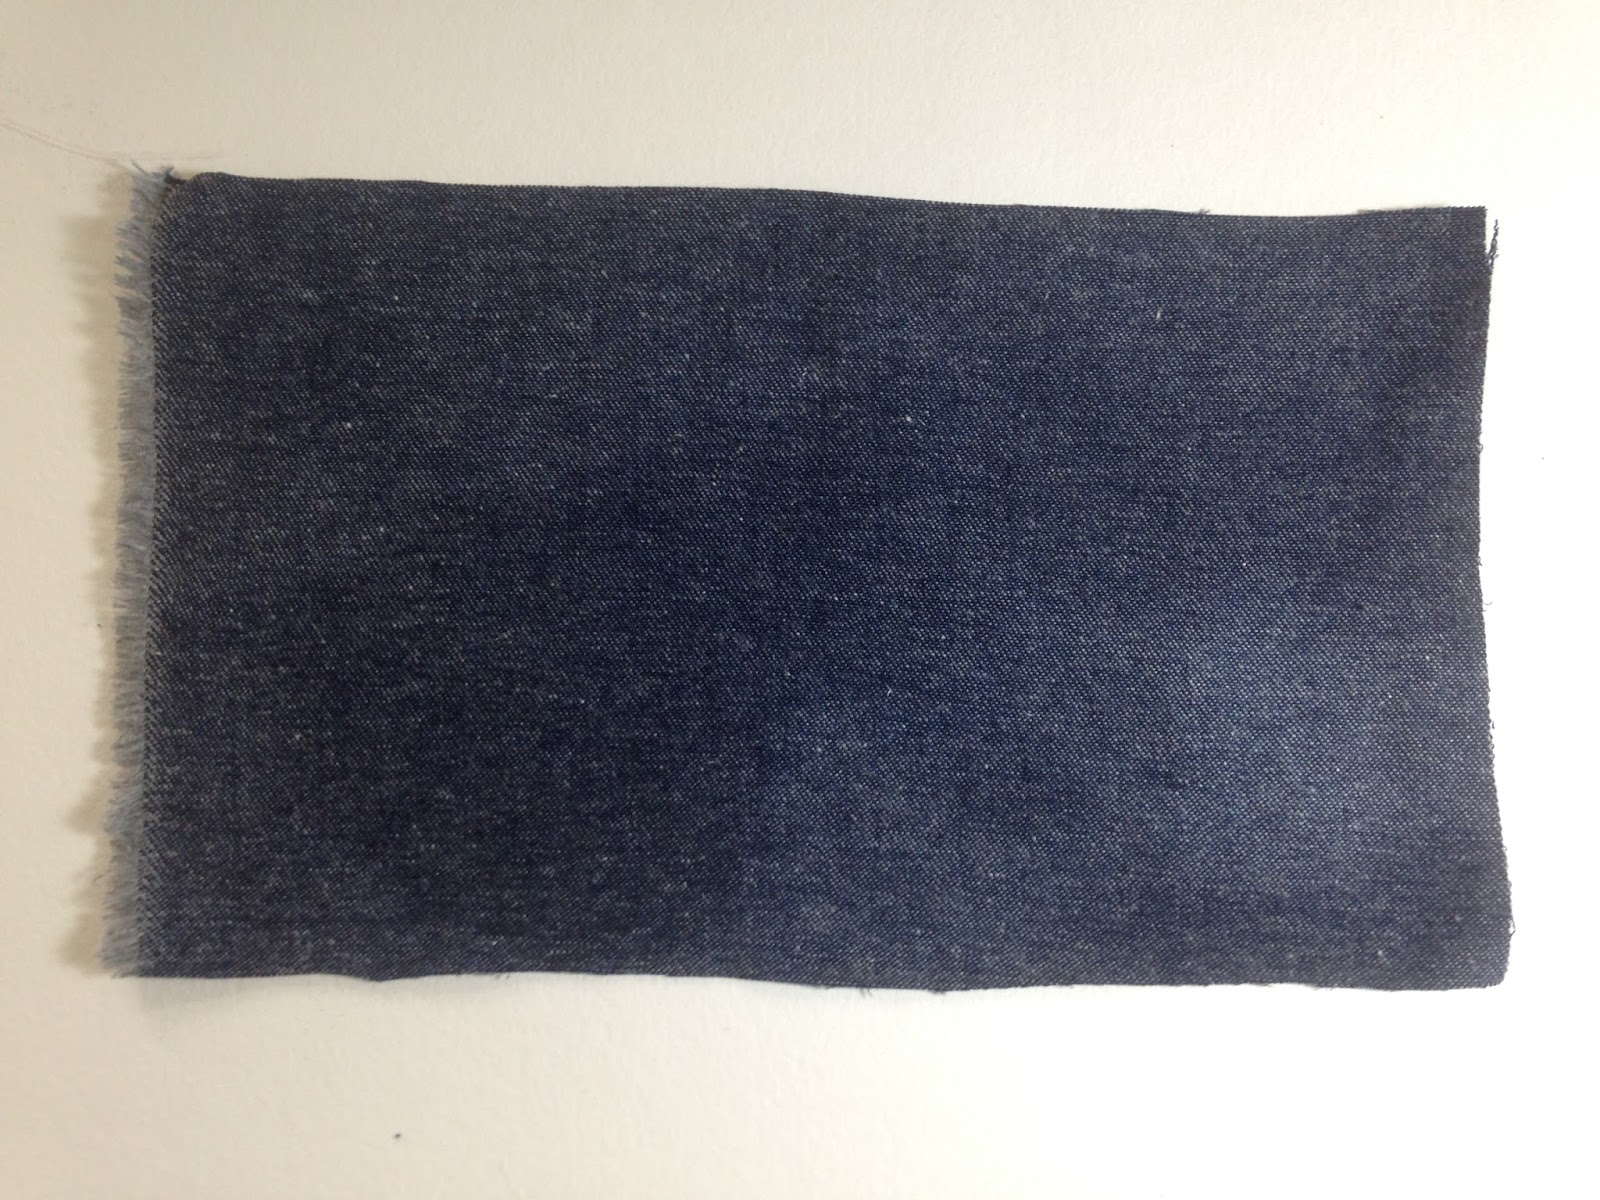
If you are using denim or a heavy fabric that does not need to be doubled, cut the rectangle 11" x 4". Turn over all edges 1/2" and top stitch or zig-zag edges flat. Proceed the same as the leather instructions.
Leather handle: 10" x 3": Fold over down the center lengthwise to create a tub. Toptitch 1/4" from the long edge using a larger stitch and strong thread. Knot both ends before cutting.

Attach a safety pin to one pointed corner end, and draw that through the handle’s tunnel (this can be difficult). Once the safety pin has reached the other end, overlap both pointed bag ends and sew ‘back and forth’ securely. Pull this join back into the handle’s tunnel until it’s about mid-way.


Here are several examples of fabric and leather handles. I made the leather handles by using old leather skirts. This weight of leather can be sewn in a domestic machine, so it's easy to make.

Now the bag is complete.


Optional Sewing Methods
There are other ways to sew or bind off the raw cut edges of this bag:
1—Before starting the bag: Overlock or zig zag overcast the entire rectangle before sewing seams “A” and “B”. To finish the exposed edges, fold over ¼” and top stitch with zig zag or straight stitching. Reinforce the inner “V”.
2—Before starting the bag: 1/4” Hem top stitched around entire rectangle before sewing seams “A” and “B”. Reinforce the inner “V”.
3—Flat fell seams may also be used to clean finish seams “A” and “B”.
4—Add a Pocket: Before starting the bag, advanced sewists may want to insert a pocket on seam allowances for “A”. Do this in the same way side seam pockets in apparel are applied. Cut 2 square pocket shapes. Mark “A” seam allowance 4”-6” below the upper edge on both sides. Sew a square pocket shape into each “A” seam allowance at the mark. Pin seam allowances of “A” together and sew the entire length including around the pocket shape in the process.
Here's a last look at the small totes. The blue one is Japanese, made from kimono crepe. The ikat cotton version has cute tie tassles.


